Tenant Registration
What Is a Tenant?
In gahorouter, a Tenant is the basic unit for using the platform's services. A tenant represents an organization, team, or individual account, and has its own balance, API Keys, model access permissions, and usage statistics.
When you register with gahorouter, the system simultaneously creates a tenant and a tenant administrator account. The administrator can then invite other members to join the tenant.
Before You Register
Before starting registration, please prepare the following information:
| Item | Description |
|---|---|
| Email address | Used for login and receiving verification codes; a work email is recommended |
| Password | Used for account login |
| Tenant name | The name of your organization or team |
| Contact name | The real name of the tenant administrator |
| Contact phone | Used for emergency contact and account recovery |
Registration Steps
Step 1: Open the Registration Page
Visit the gahorouter Console registration page: https://console.gahorouter.com/register
Step 2: Fill In Registration Information
On the registration page, fill in the following information in order:
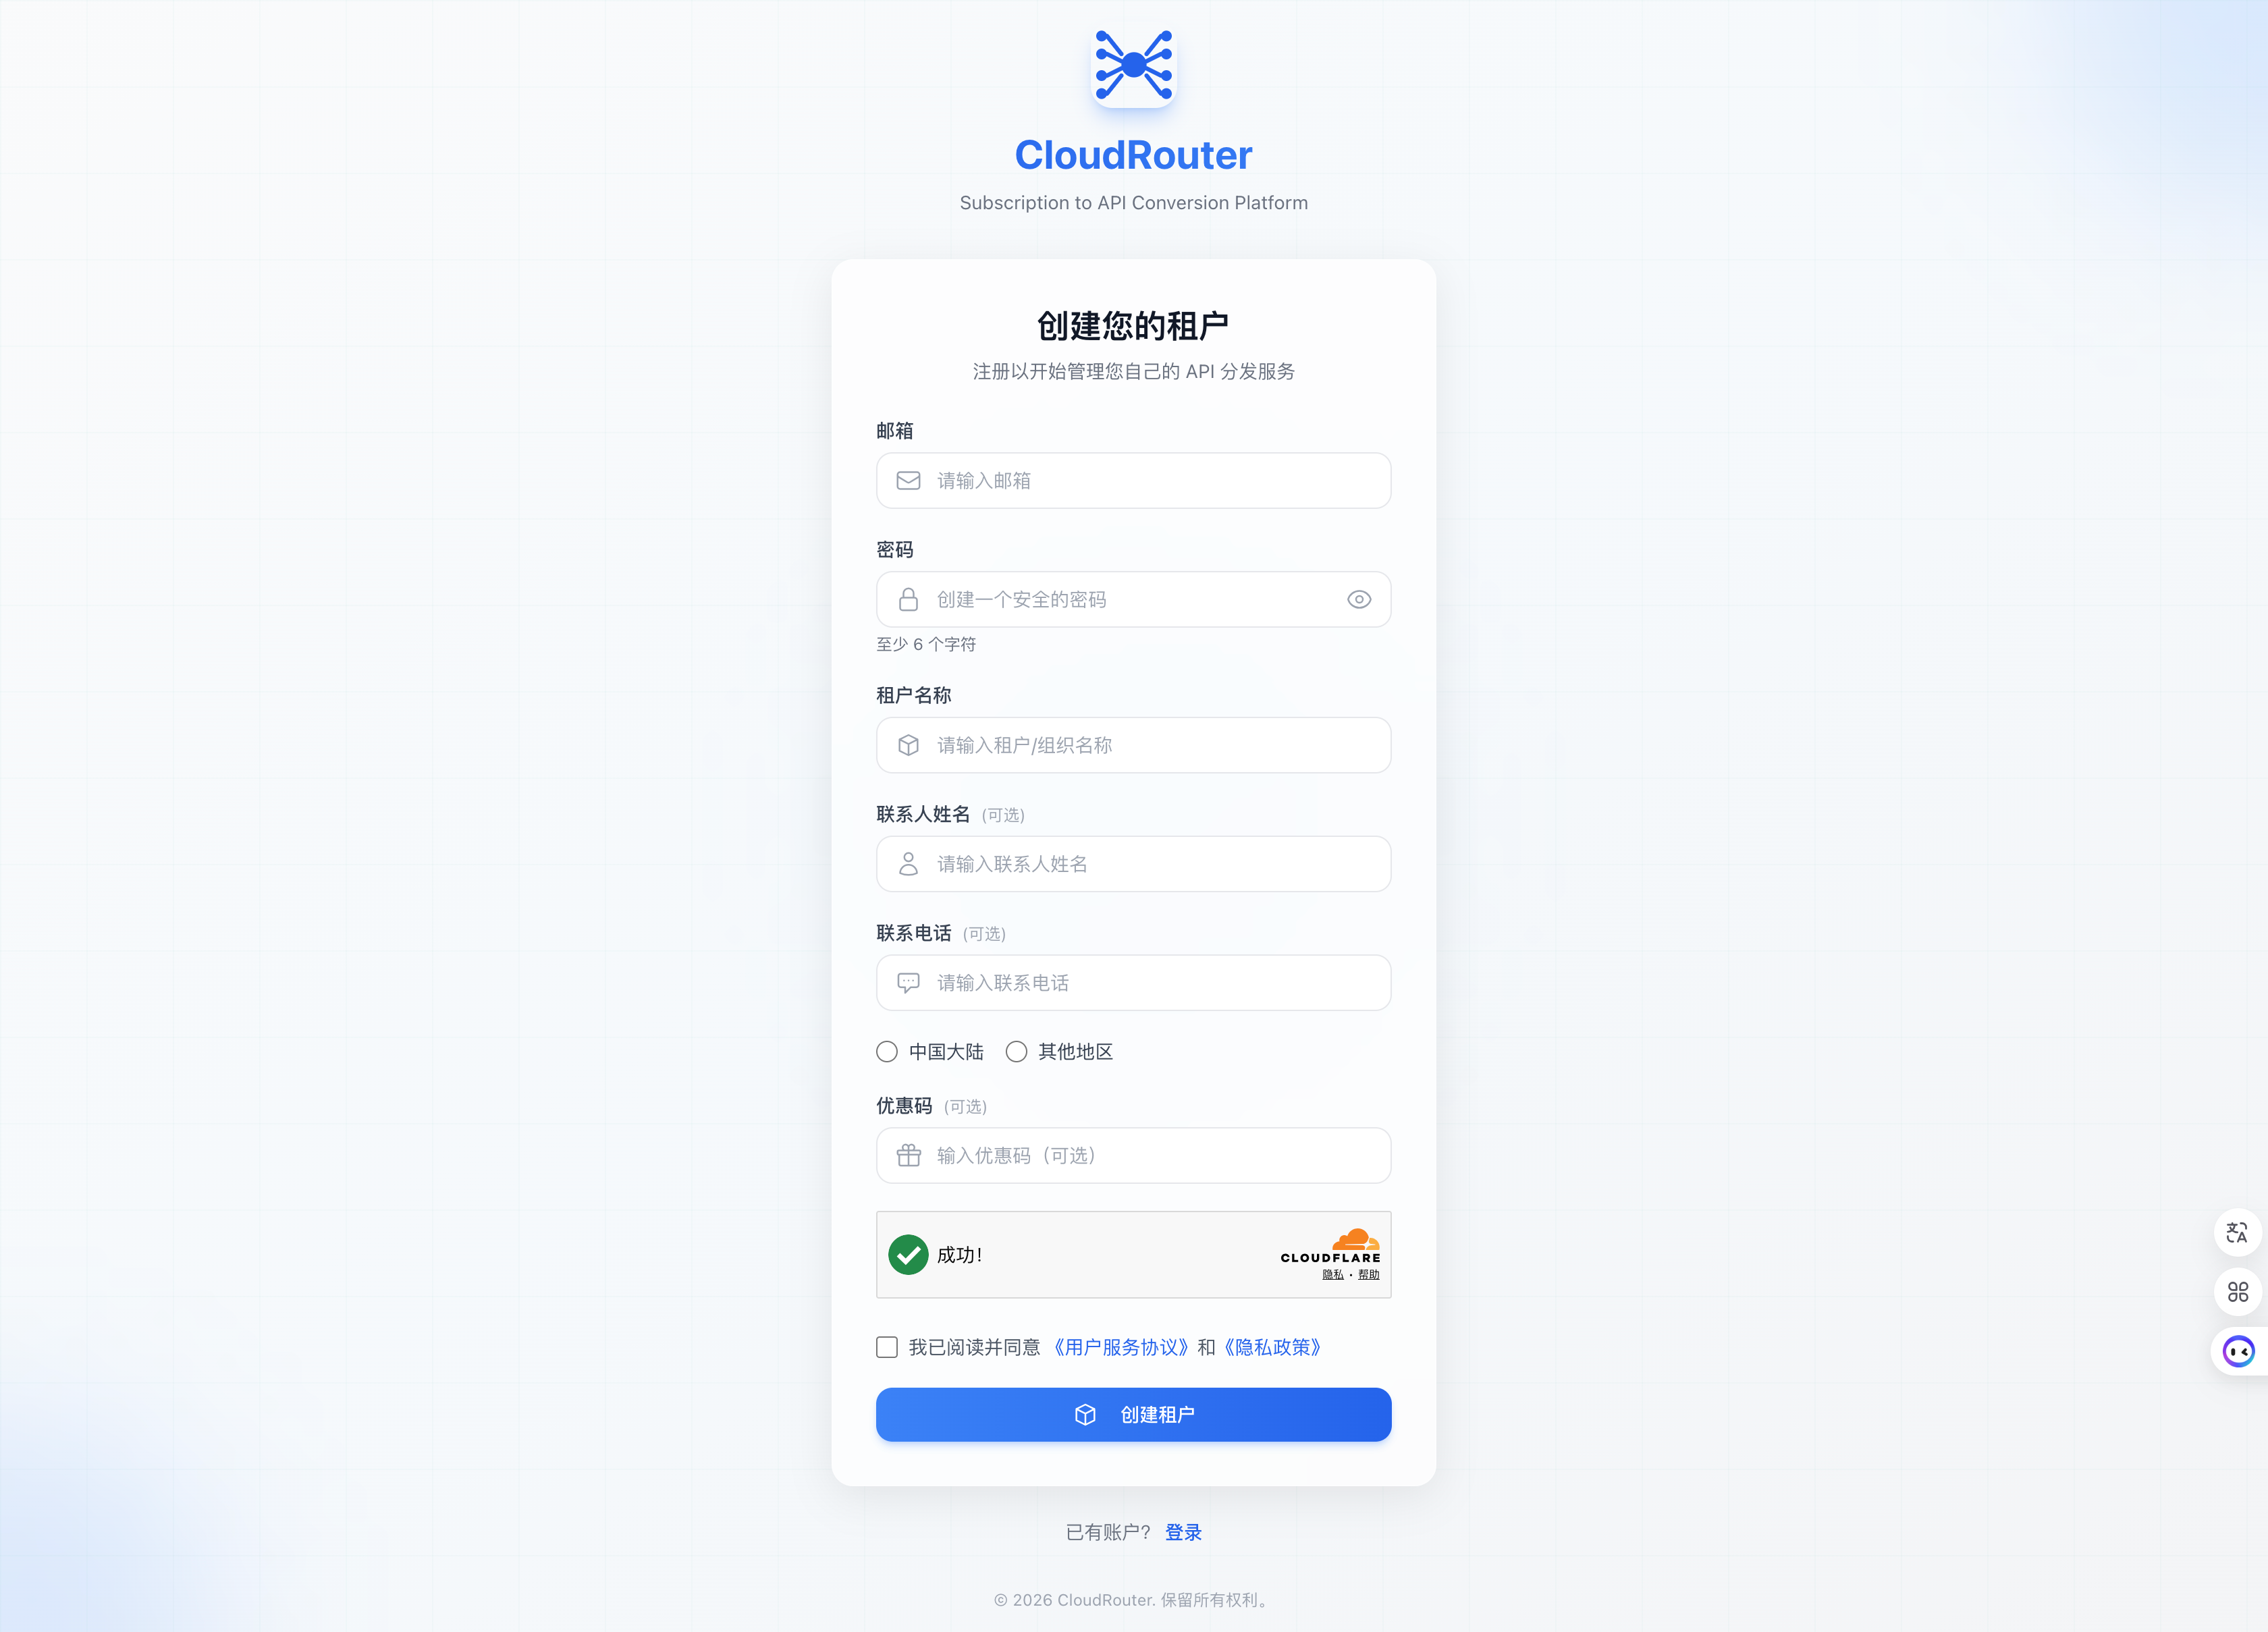
Notes for filling in:
- Email: Please make sure the email is valid and active, as it will be used to receive verification codes and system notifications.
- Password: We recommend using a strong password that includes uppercase and lowercase letters, numbers, and special characters.
- Tenant name: We recommend using your company or team name for easier management later.
Step 3: Complete the Human Verification
After filling in the registration information, complete the Turnstile human verification on the page (similar to a CAPTCHA) to prove that you are a real user.
Step 4: Agree to the Service Agreement
Check the agreement consent option on the page:
- ☐ I have read and agree to the "User Service Agreement" and "Privacy Policy"
Click the "User Service Agreement" or "Privacy Policy" link to view the full text in a new tab.
You must check this option before you can submit the registration; otherwise, the system will prompt "Please read and agree to the User Service Agreement and Privacy Policy first."
Step 5: Submit the Registration
After confirming that all information is filled in correctly, click the "Create Tenant" button to complete registration.
After successful registration, the system automatically performs the following actions:
- Creates your tenant
- Sets you as the administrator of the tenant
- Automatically grants access to all public standard model groups
After Successful Registration
After registration is complete, you will be automatically logged in to the console. As the tenant administrator, you can:
| Action | Description |
|---|---|
| Use public models | The system has automatically enabled all public standard model groups; you can call them after topping up |
| Get an API Key | Create an API Key in the console and configure it in your application |
| Invite team members | Add colleagues to your tenant via an invitation link or manual addition |
| Top up balance | Add credits to the tenant's balance pool through self-service top-up |
FAQ
What if registration says the email is already registered?
This means an account has already been created with that email. Please log in directly, or use the "Forgot Password" feature to recover your account.
Can one person register multiple tenants?
No. One email can only register one account and join one organization.
How do I add team members after registration?
The tenant administrator can add members in the console in the following ways:
- Invitation link: Generate an invitation link and send it to team members, who join via the link.
- Manual addition: Add member accounts directly in the console.
When team members join via invitation, they do not need to register a new tenant.
Contact Us
If you encounter any issues during use, please contact us promptly.